1. For a clearer image, we recommend Formtec CD/DVD Glossy Labels to you for making CD labels.
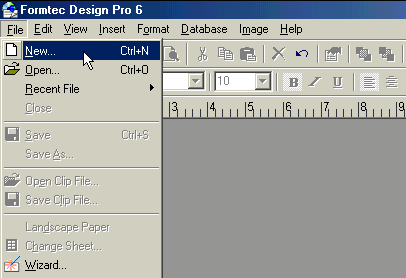
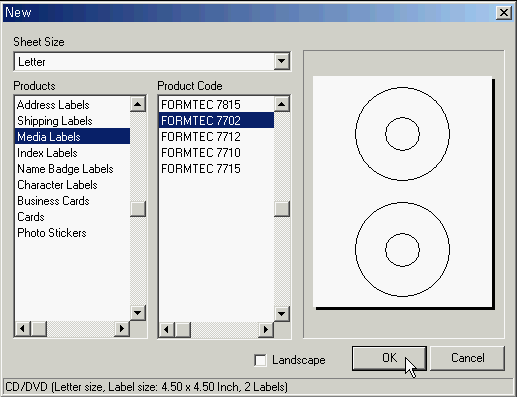
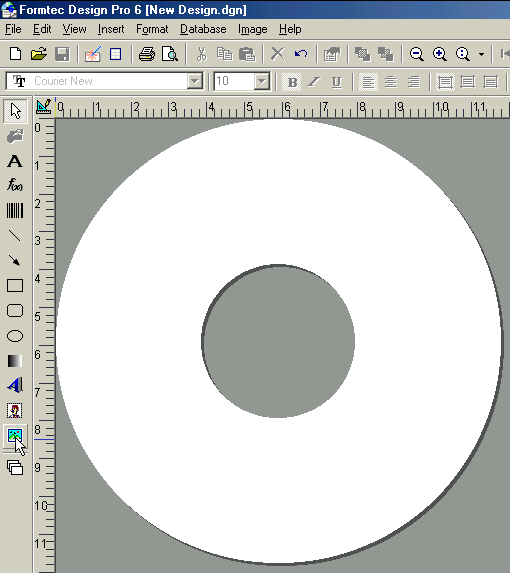
After run Formtec Design PRO 6, click ¡®NEW¡¯ button then select ¡®Media Labels¡¯, code ¡®7702¡¯.
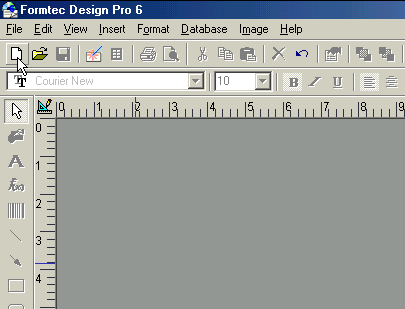
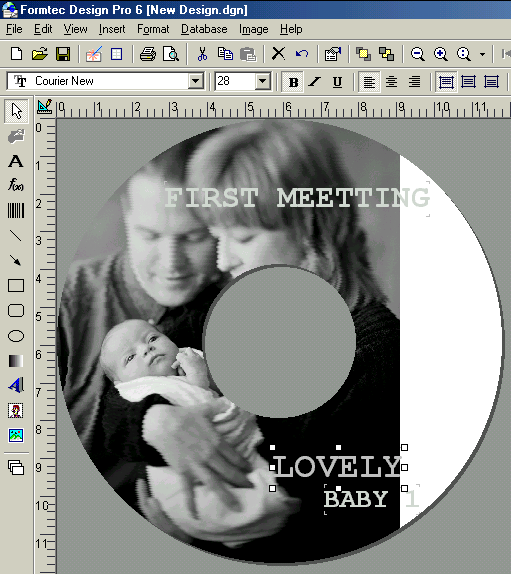
2. Click ¡®OK¡¯, then CD Label form will be showed on the monitor. You can design and edit freely on this form. In case of inserting image, click ¡®Image¡¯ button on left menu bar. Also when you need to insert text, click ¡®Text¡¯ button on left menu bar.
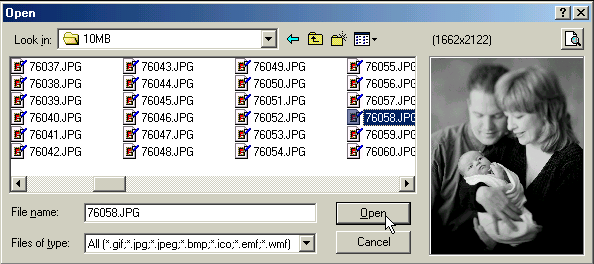
1) After click ¡®Image¡¯ button on left menu bar, click again on the blank CD labels form then ¡®Open¡¯ window will be shown. Just search your image to insert.
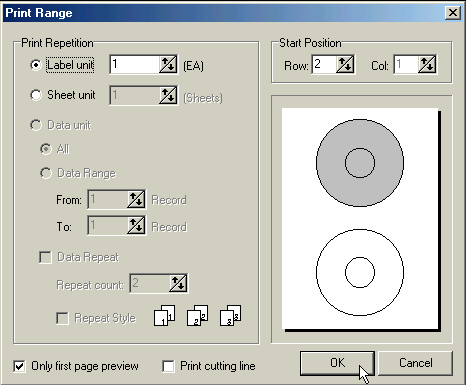
3. Put a Formtec CD/DVD Glossy Label into your printer paper tray then click ¡®Print¡¯ button on the top menu.
¡Ø FAQ from making CD Labels.
1) It has 2 CD/DVD labels on a sheet. But I can see only 1 CD/DVD labels on monitor. How can I print 2 CD/DVD labels at once in a different design?
- At present, it is not available to print 2 different design of CD/DVD labels at once.But here is alternative. If you want to print bottom placed CD/DVD labels after printing above placed CD/DVD labels, click ¡®Print¡¯ and click again bottom placed CD/DVD label on the label form in ¡®Print Range¡¯ window. Click ¡®OK¡¯.
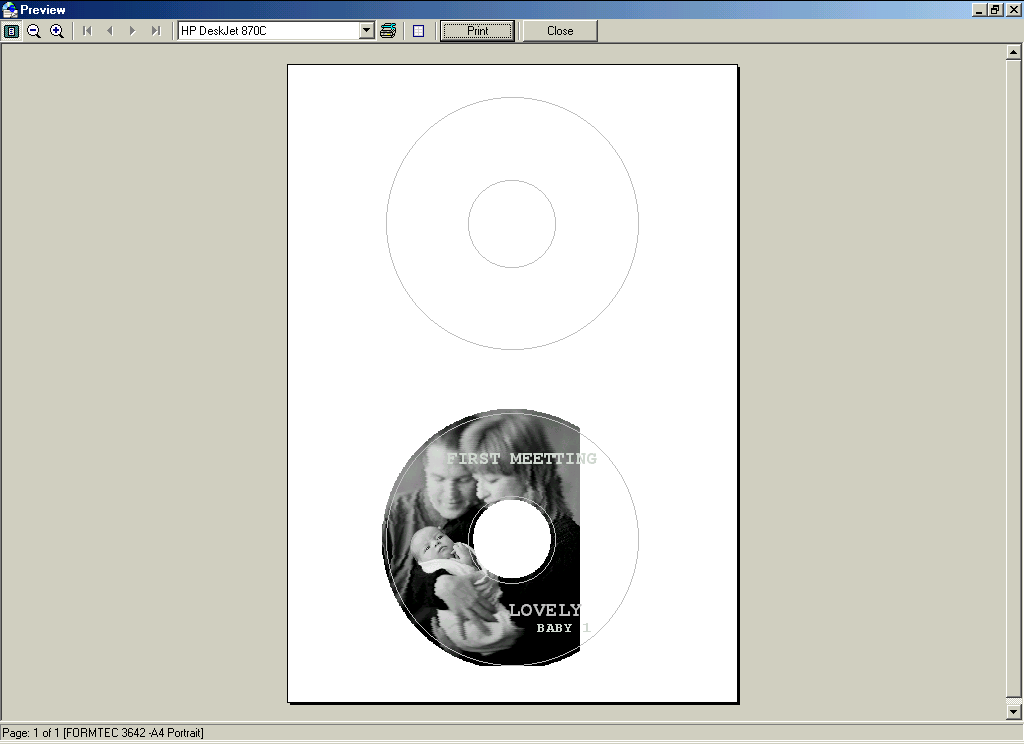
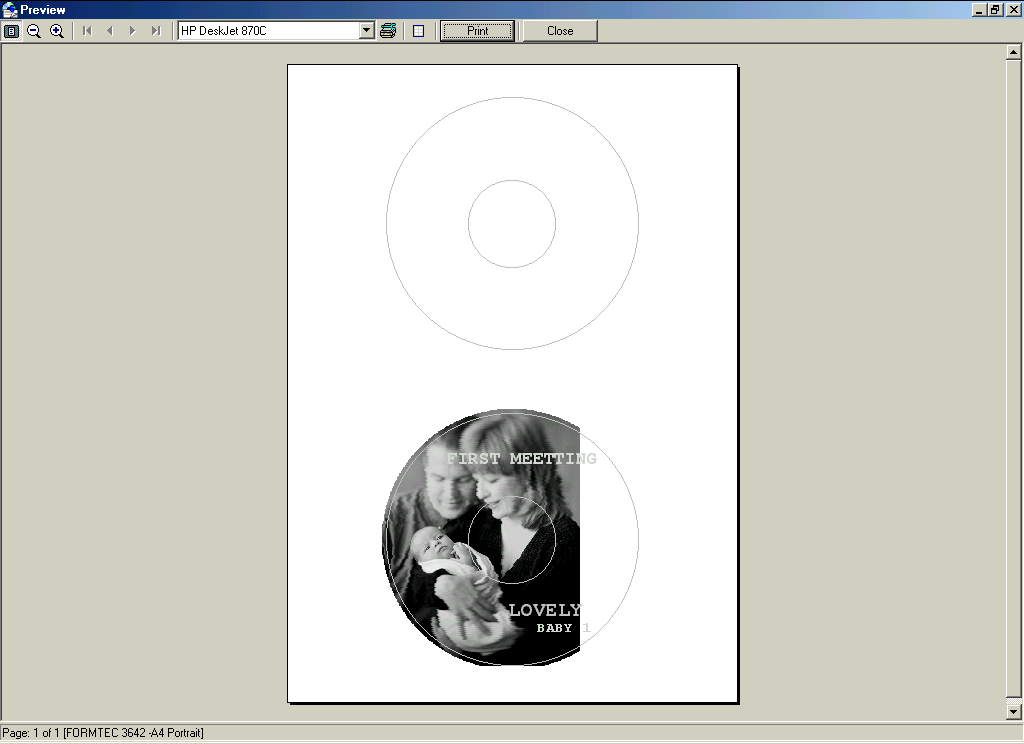
2) I want to print on the whole range of CD/DVD labels including centered small circle. How can make it?
Click ¡®File¡¯ button on the top menu and select ¡®Environment Options¡¯. In ¡®Environment Options¡¯ window, mark ¡®Object Clipping¡¯ and ¡®Outside Area¡¯. Click ¡®OK¡¯ then check result through ¡®Preview¡¯.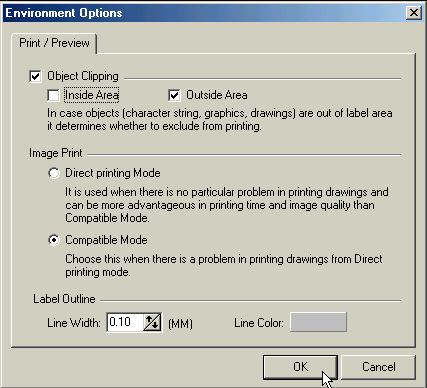
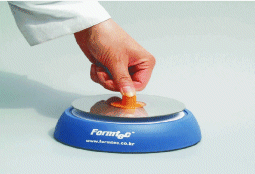
4. By Formtec CD Label Kit, you can put a complete CD labels on the CD easily.
4-1. Make the center part of the Kit come up by turning it.
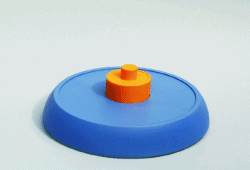
4-2. Lay the printed CD label onto the Kit with adhesion surface upward.
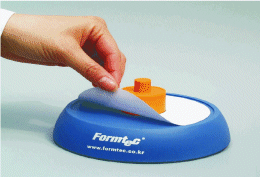
4-3. Put the CD on the center part of the Kit with face surface downward. Press the center part of the Kit together with CD.